Resumable file upload (part 2)
In part 1 of this series, we went through the steps to implement front part of the application. And in part 2, we will work on the backend system.
Download link of entire source code is provided in the finale part this series.
Install Composer
Similar to Bower, Composer is a dependency manager tool for PHP. Most of modern packages are using Composer now. If you have not yet, you should start using Composer in your project. It will save you a lot of development time and we all know time is the most precious resource a developer has.
Without further ado, get Composer installed on your system by following this link. It covers steps for all operating systems.
You can verify your installation by typing following command on your terminal:
composer about
You should be able to see something similar below:

Install Resumable.php
Resumable.php is a package we have built to simplify the backend process when working with resumable.js. It encapsulates all the low-level file uploading steps and provide you a simple to use interface.
We will install Resumable.php using Composer. Navigate to the root folder of your project. And do:
composer require dilab/resumable.php
Now check your project's root folder, you should be able to see some folder structures as below:
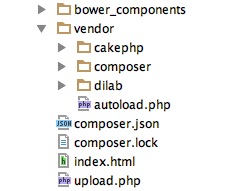
composer.json and composer.lock are created by Composer and it keeps information required by Composer. And Composer has downloaded our pakage Resumable.php along with its dependencies to vendor folder.
Implement backend upload process
Now let's implement the backend using Resumble.php. As mentioned early, Resumble.php has done most of job for us. Below is how we use Resumble.ph in upload.php. Copy the content below to your upload.php file.
<?php
include 'vendor/autoload.php';

use Dilab\Network\SimpleRequest;
use Dilab\Network\SimpleResponse;
use Dilab\Resumable;

$request = new SimpleRequest();
$response = new SimpleResponse();

$resumable = new Resumable($request, $response);
$resumable->tempFolder = 'tmps';
$resumable->uploadFolder = 'uploads';
$resumable->process();
It is super easy as you can see. We create a Resumable instance by passing SimpleRequest and SimpleResponse as two parameters required. SimpleRequest and SimpleResponse are abstraction of HTTP request and response. Then we tell Resumble the folder to store the temporary files and the final uploaded file.
Last thing we need to do is to create two folders as shown above. One is tmps, it stores the temporary chunked files before assembling them. And the other is uploads, it stores complete files. Make sure both folders are writable by PHP script.
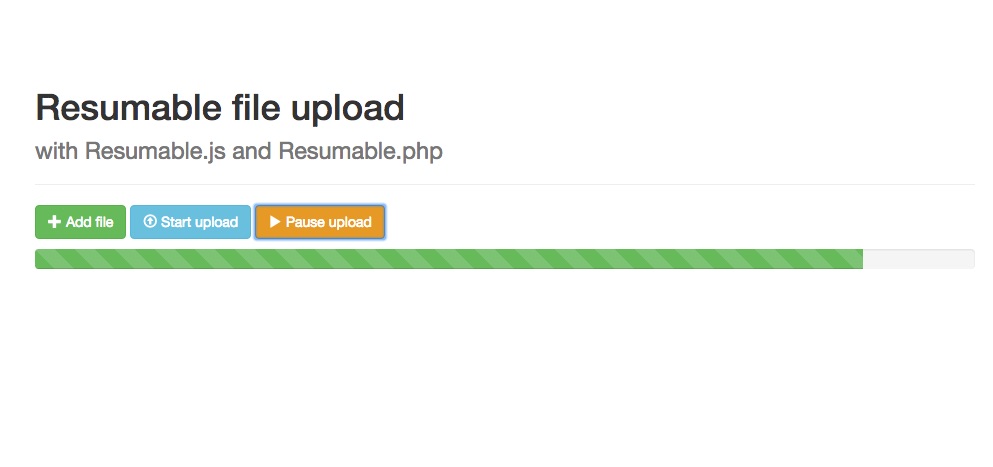
We have built a resumble file uploader, now go test it out. Files are sent chunk by chunk. And if you close your browser in the middle of uploading, re-opening the uploader will resume the file upload progress.
Source code
You can download full source code of this tutorial below:
The end
Hopefully this simple tutorial helped you with your development. If you like our post, please follow us on Twitter and help spread the word. We need your support to continue. If you have questions or find our mistakes in above tutorial, do leave a comment below to let us know.